Don't forget to return to your survey
and get your discount!

If you’ve ever wondered how to make a pumpkin bong, you’re in for a seasonal treat. When fall rolls around, cannabis culture gets a creative twist.
The air turns crisp, pumpkins pop up on every porch, and enthusiasts start crafting festive ways to elevate their smoke sessions.
Turning a pumpkin into a bong isn’t just fun and quirky; it’s also an easy, eco-friendly DIY project that fits perfectly with the cozy vibe of autumn. Whether you’re preparing for a Halloween smoke sesh or just want to try something new, making your own pumpkin bong is easier than it sounds.
Here’s how to do it safely and enjoyably – plus a look at why this simple DIY project works so well.
Why Make a Pumpkin Bong?
Sure, you could stick with your glass bong or rolling papers, but there’s something undeniably satisfying about turning a fall staple into a smoking accessory.
A pumpkin bong adds a seasonal twist to your session. It’s a conversation starter, a creative project, and a great way to enjoy cannabis with friends when the spooky season hits.
Beyond aesthetics, pumpkins actually serve a functional purpose. Their natural moisture helps cool the smoke and provide smoother hits.
Plus, making one is surprisingly eco-friendly. You’re repurposing a natural, biodegradable item rather than reaching for plastic or synthetic materials. It’s the kind of sustainability move that makes cannabis consumption feel more grounded and connected to nature.
According to the National Retail Federation’s 2025 consumer survey, nearly three-quarters of Americans (73%) plan to celebrate Halloween this year. So it’s no surprise that pumpkin bongs have become a go-to fall trend for cannabis lovers looking to join the spirit of the season.
What You’ll Need to Make a Pumpkin Bong
You don’t need fancy tools or glassware to pull this off. Most of what you’ll use is probably sitting in your kitchen or stash box already.
Here’s your pumpkin bong checklist:
- 1 medium or small pumpkin (fresh, not rotten)
- Knife or carving tool
- Spoon (for scooping seeds and pulp)
- Downstem or glass/metal tube (a straw can work in a pinch)
- Bowl piece (you can use one from another bong or make a temporary foil piece)
- Lighter
- Optional: water for filtration, sealant (like gum or tape), and a marker for hole placement
Once you’ve got your tools, clear a clean workspace. Things are about to get a little messy in the best possible way.
Step-by-Step: How To Make a Pumpkin Bong
Creating your pumpkin bong only takes about 15–20 minutes, and it’s perfect for beginners. Follow these steps carefully for the best results.
Step 1: Choose the Right Pumpkin
Go for a pumpkin that fits comfortably in your hands. Medium-sized works best. You want something solid, but not too heavy. Avoid pumpkins that are soft or starting to decay; a fresh one gives better airflow and structure.
Step 2: Hollow It Out
Cut off the top (like you’re carving a jack-o’-lantern) or make a side opening if you prefer a different angle. Use your spoon to scoop out all the seeds and stringy pulp. The cleaner the inside, the smoother your smoke will be.
Pro tip: Save the seeds to roast later. Waste nothing!
Step 3: Add the Downstem Hole
Use your knife or a screwdriver to make a diagonal hole near the top of the pumpkin. The hole should angle downward toward the center cavity.
Insert your downstem or tube into the hole so that it sits snugly and touches the inner chamber. You can seal any gaps using tape, wax, or even chewed gum for an airtight fit.
Step 4: Add the Mouthpiece
On the opposite side, make another hole. This one’s your mouthpiece. It can be straight (for direct hits) or angled upward if you want a more comfortable pull. Some people use a straw, but if the edges are smooth, you can draw directly from the pumpkin.
Step 5: Add Water (Optional but Recommended)
Pour about one or two inches of water into the bottom cavity. This helps cool and filter the smoke, just like a glass bong.
Don’t overfill. You don’t want to splash water into your mouth.
Step 6: Load and Test
Insert your bowl piece into the downstem. Pack your favorite flower lightly. Dense packing can clog airflow. Take a few test draws (without lighting) to ensure air moves smoothly through the pumpkin.
Step 7: Light It Up
Once airflow feels good, it’s time to spark up. Light the bowl and inhale through the mouthpiece. You’ll notice a cool, earthy undertone added to your usual flavor.
That’s the pumpkin’s natural aroma mixing with the cannabis smoke. It’s subtle, seasonal, and surprisingly smooth.
Safety and Hygiene Tips
Before you go full “mad scientist” with your pumpkin bong, remember a few safety essentials:
- Avoid moldy pumpkins: Use a fresh one to prevent inhaling spores or bacteria.
- Don’t use harsh materials: If you DIY a bowl from foil, use heavy-duty food-grade foil and replace it often. Never use plastic parts that can melt.
- Keep it clean: Rinse the interior before and after use if you plan to keep it for a few days, but realistically, pumpkin bongs are best for short-term fun.
- Dispose responsibly: When the pumpkin starts to soften, compost it.
The Science Behind Why It Works
At its core, a bong is just a water pipe. It uses liquid to cool and filter smoke before it reaches your lungs. Pumpkins, thanks to their dense and moist interior, act as a natural version of this system.
When smoke passes through the pumpkin cavity (especially with added water), the inner walls help condense heat and trap small particles. This cools the smoke and smooths out the hit, reducing harshness.
It also helps that pumpkins are mostly water by about 92% by weight, according to the USDA FoodData Central database. That high water content naturally chills the smoke, creating a smoother, less irritating inhale than you’d get from many improvised smoking devices.
Fun Variations and Add-Ons
Once you’ve got the basic pumpkin bong mastered, don’t stop there. Try experimenting with:
- Mini pumpkins: Perfect for personal sessions or group art projects.
- Flavored water: Add apple cider, mint leaves, or cinnamon sticks for a festive twist.
- Decorations: Paint or carve designs into your pumpkin bong to make it party-ready.
You can even set up a “DIY pumpkin bong” station at your next Halloween get-together. Just remember to keep things safe and responsible.
Enjoy A Seasonal Smoke With a Twist
Making a pumpkin bong is more than just a novelty; it’s a celebration of creativity, cannabis culture, and the cozy vibes of fall. It’s an easy way to bring friends together, try something new, and enjoy your favorite flower in a natural, festive vessel.
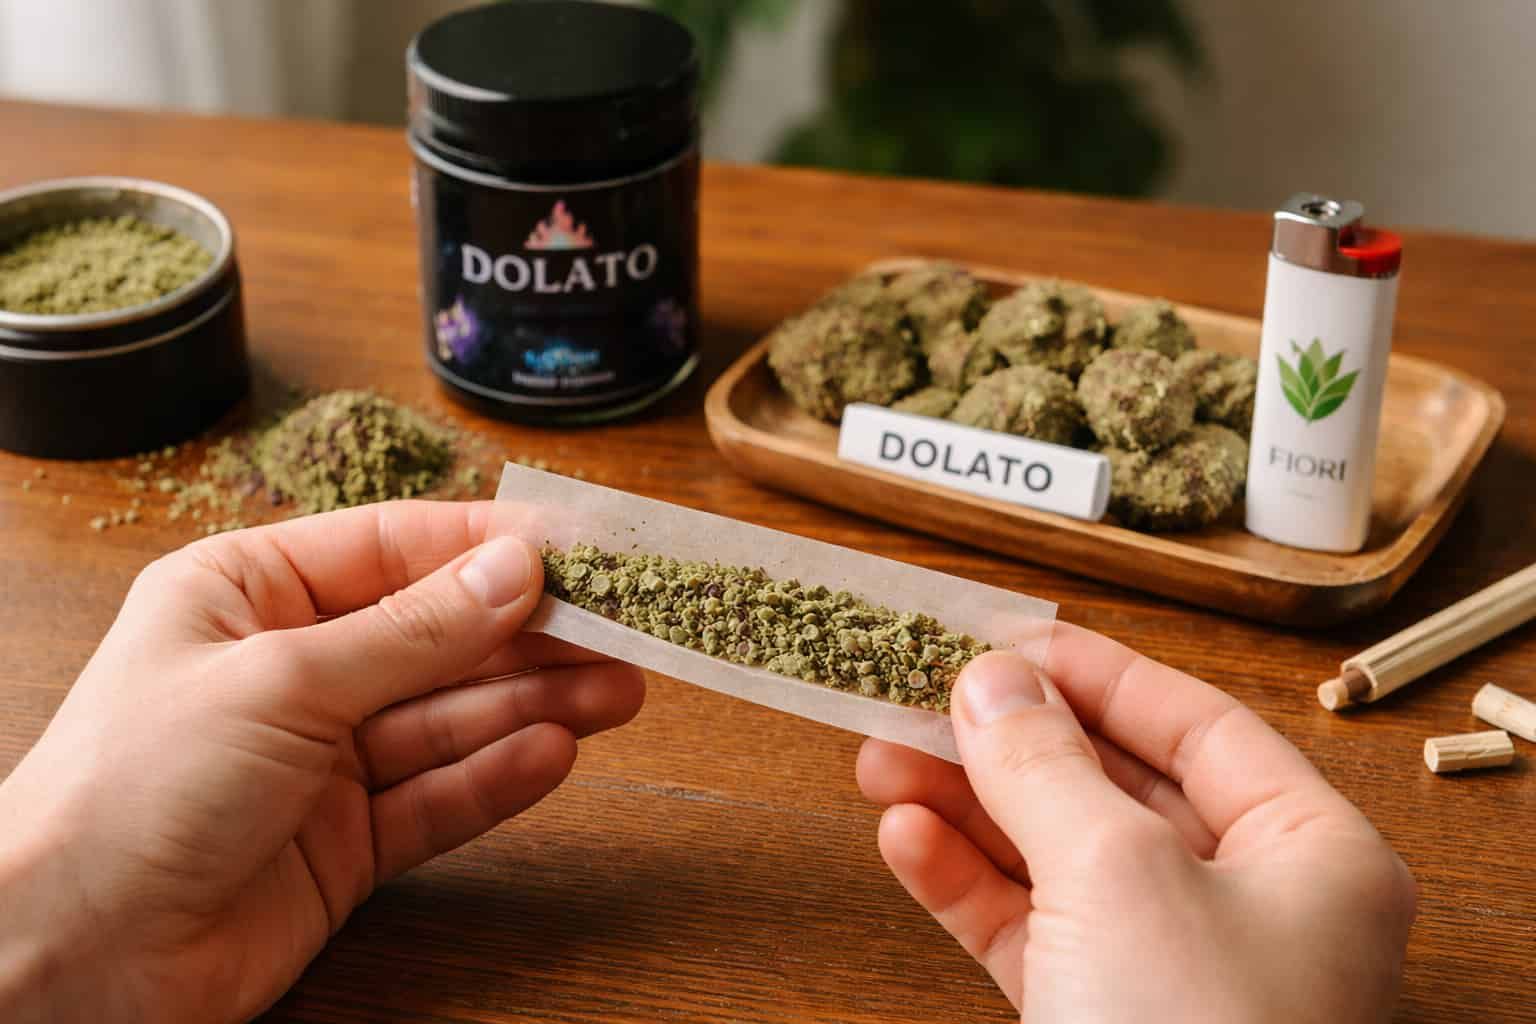
As always, enjoy responsibly and know your limits. Pair your pumpkin bong session with top-quality flower from Fiori Delivery’s curated menu whether you’re into citrusy sativas, earthy indicas, or smooth hybrids, we’ve got something that complements every season.
So grab a pumpkin, carve out some time, and light up the fall season the Fiori Delivery weed dispensary Sacramento way.
Frequently Asked Questions
1. What size pumpkin is best for making a pumpkin bong?
A medium-sized pumpkin (around 6–8 inches in diameter) works best because it’s sturdy enough to hold water yet small enough to handle easily. Mini pumpkins can work for single sessions, but larger ones may be awkward to smoke from.
2. Can you use any pumpkin for a bong or does it need to be firm/fresh?
Always use a fresh, firm pumpkin. Soft or aging pumpkins can collapse, leak, or harbor bacteria, which makes them unsafe and unpleasant to use.
3. What tools and components do I need to build a pumpkin bong?
You’ll need a knife or carving tool, spoon, downstem or metal/glass tube, bowl piece, and a lighter. Optional items like water, sealant, or a straw for the mouthpiece can help refine airflow and comfort.
4. How much water should I add when making a pumpkin bong?
Add just 1–2 inches of water inside the pumpkin’s cavity. This amount is enough to filter and cool the smoke without splashing during use.
5. Is a pumpkin bong safe to use and how long will it last?
Yes, as long as it’s clean, fresh, and used for short-term sessions only. A pumpkin bong typically lasts 1–2 days before softening or molding, so compost or discard it afterward.
6. Can you decorate the pumpkin bong and still have it function well?
Absolutely, you can carve designs, paint the exterior, or add seasonal accents as long as they don’t block airflow or interfere with the mouthpiece and downstem holes. Keep decorations external and non-toxic.
7. Does using a pumpkin bong change the flavor or smoothness of the hit?
Yes, pumpkins naturally add a light, earthy sweetness and cool the smoke thanks to their high water content. Many users find the hits smoother and less harsh than with traditional dry pipes.
Don't forget to return to your survey
and get your discount!
SHARE